As we know, in order to deploy apps with Intune on macOS the app needs to be a signed .pkg file wrapped into a .intunemac file.
From Adobe Admin console we can create a pkg file containing the Adobe CC app or other Adobe apps if needed. Unfortunately this file is not signed, and multiple forum threads confirm that signing them is not supported.
So how do we get around that? I was searching around to find a proper solution. I couldn’t find anyone who had come up with a solution, so I decided to find one my self. What if we don’t sign the Adobe CC pkg file it self but wrap it into another pkg file and run the Adobe CC pkg as a postscript? I did that and it’s actually working!
By default, if we want to install multiple languages of Office 365 ProPlus on the same device, it is only possible if we create one package with all the desired languages. This is also the best practices from Microsoft on how to deploy additional languages with Office 365 ProPlus.
But what if we want to have one package for every language?
I know the same can be achieved by letting Office setting the install language to follow the OS language, but if the OS is always English and not localized, this doesn’t help.
An example could be if we always install English Office for all users, but want to provide the users an easy way to install another Office language. Or if we simply want to minimize the footprint and diskspace, by only installing the desired language or let the user decide what language of Office 365 ProPlus they want.
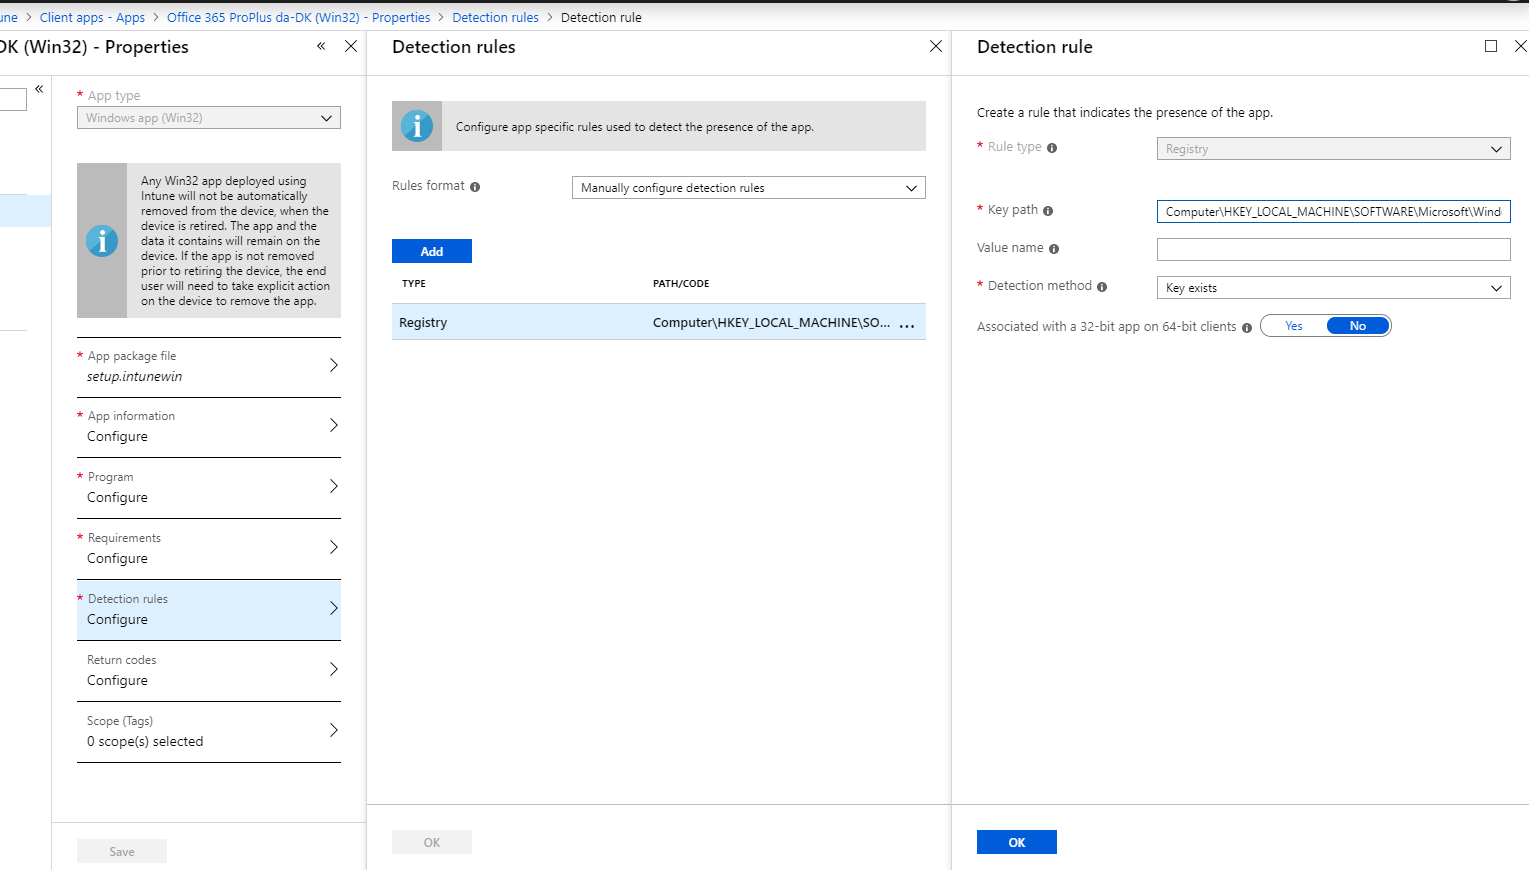
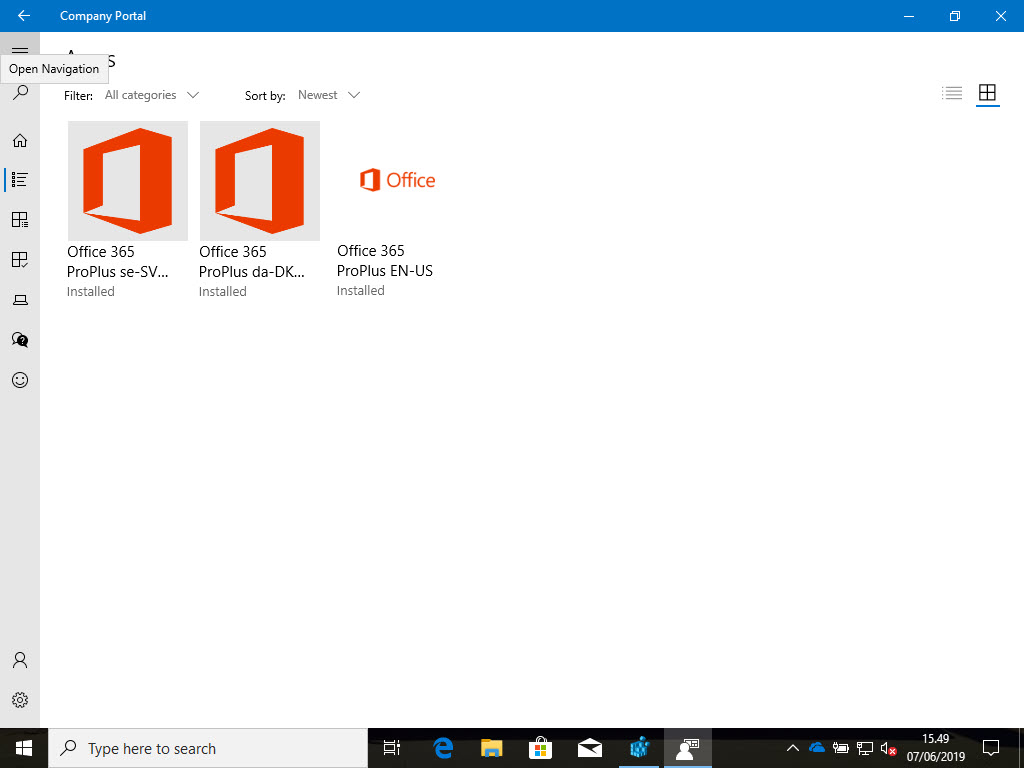
This can be done if we create the Office package as a Win32 app in Intune. Because we can specify Detection Rules, we can specify a different rule for each language. Using this method also lets you add an Image that fits and looks better in Company Portal. I’d recommend using the following image:
Just a quick step-by-step guide on how the configure Android Zero Touch with Intune.
Why
Why do we want to use Corporate-owned, fully managed user devices? In order to give the user an out-of-box experience that automatically enrolls devices into our MDM solution, just like Apple DEP but for Android Enterprise devices. Also, it gives a less confusing user experience, as we only have a work profile and not a private AND work profile, like we do with personal owned android devices.
Of course this is still a preview feature in Intune, and context is subject to change.
Prerequisites
A compatible device running Android Oreo (8.0) or Pixel phone with Android Nougat (7.0), purchased from a reseller partner
Quick and simple tip on how to get a Logon script like experience with Intune. On Azure AD joined devices, there’s currently no option to create Logon/Logoff or Startup/Shutdown script like we can with GPOs. I had a customer that needed a solution to start a command file as admin everytime the user signed on to the device.
There’s a workaround – Use Scheduled Tasks to create tasks that runs on Log On, and runs with Administrator rights / Local System if needed. It’s a very simple Powershell script, that created a scheduled task:
Create the scheduled task
Runs at Logon
Runs with Local SYSTEM account
Runs a command specified (in this example it runs a .cmd file that requires administrative rights. The .cmd file is already present on the devices – a software vender has placed it here)